Are you tired of feeling like your kitchen is stuck in a time warp? Do you dream of a cooking space that’s both beautiful and functional, but don’t want to break the bank? Look no further! With a little creativity and some DIY know-how, you can transform your kitchen into a stunning oasis that reflects your personal style.
1. Rustic DIY Kitchen Shelves
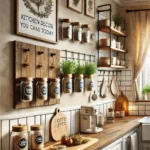
Bring warmth and character to your kitchen with rustic DIY shelves that add a touch of countryside charm to your cooking space. Reclaimed wood, vintage metal brackets, and distressed finishes come together to create unique and functional shelves that showcase your favorite kitchenware, cookbooks, and decorative treasures. With a few simple tools and some creativity, you can upcycle old pallets, crates, or fencing into one-of-a-kind shelves that reflect your personal style and add a cozy, welcoming ambiance to your kitchen. Whether you’re a fan of modern farmhouse, vintage rustic, or coastal chic, DIY kitchen shelves offer a versatile and budget-friendly way to infuse your kitchen with rustic charm and personality.
How to Make DIY Rustic Shelves:
Materials Needed:
- Wooden planks (reclaimed wood for a rustic feel)
- Sandpaper
- Wood stain or paint
- Metal brackets
- Screws and drill
- Level tool (to ensure straight installation)
- Measuring tape
Steps:
- Sand the wooden planks: This removes splinters and smooths the surface.
- Apply wood stain or paint: Customize the shelves to match your kitchen’s aesthetic.
- Measure and mark wall placement: Use a level tool to ensure the shelves will be even.
- Install metal brackets: Secure them to the wall using screws and a drill.
- Place the wooden planks on the brackets: Screw them in for added stability.
- Decorate the shelves: Arrange kitchen essentials, plants, or decorative pieces for an inviting look.
Tip: Use mason jars and baskets on shelves for extra storage and organization.
2. Budget-Friendly Kitchen Makeover with Peel-and-Stick Backsplash
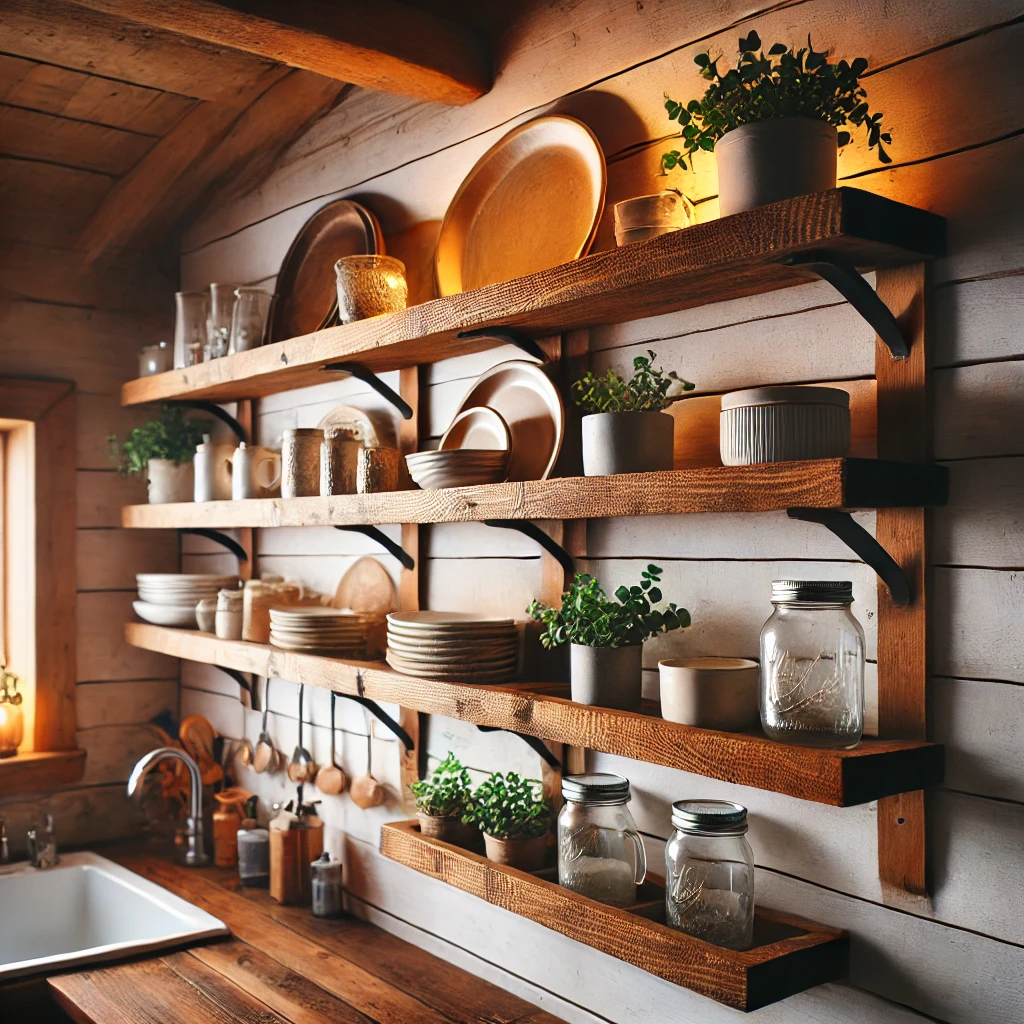
Transform your kitchen’s look and feel without the hassle and expense of a traditional renovation with a budget-friendly peel-and-stick backsplash. This innovative solution offers a quick, easy, and affordable way to update your kitchen’s style, protecting your walls from splashes and spills while adding a pop of color and texture. With a vast array of designs, patterns, and materials to choose from, you can find the perfect peel-and-stick backsplash to match your kitchen’s unique style, from modern and sleek to rustic and charming. Plus, with a simple peel-and-stick application process, you can achieve a professional-looking result without the need for specialized tools or expertise, making it an ideal DIY project for homeowners on a budget.
How to Install a Peel-and-Stick Backsplash:
Materials Needed:
- Peel-and-stick backsplash tiles
- Measuring tape
- Scissors or utility knife
- Ruler
- Cleaning cloth
Steps:
- Prepare the wall: Clean the kitchen wall surface thoroughly to remove dust and grease.
- Measure and cut tiles: Use a ruler and utility knife to cut the tiles to the appropriate size.
- Peel the backing and apply: Start at one corner and slowly press the tiles onto the wall, smoothing out any bubbles as you go.
- Press firmly: Ensure the tiles are secure by pressing down on them with a cloth or a roller.
Tip: Choose subway tile, marble, or mosaic designs for a modern look.
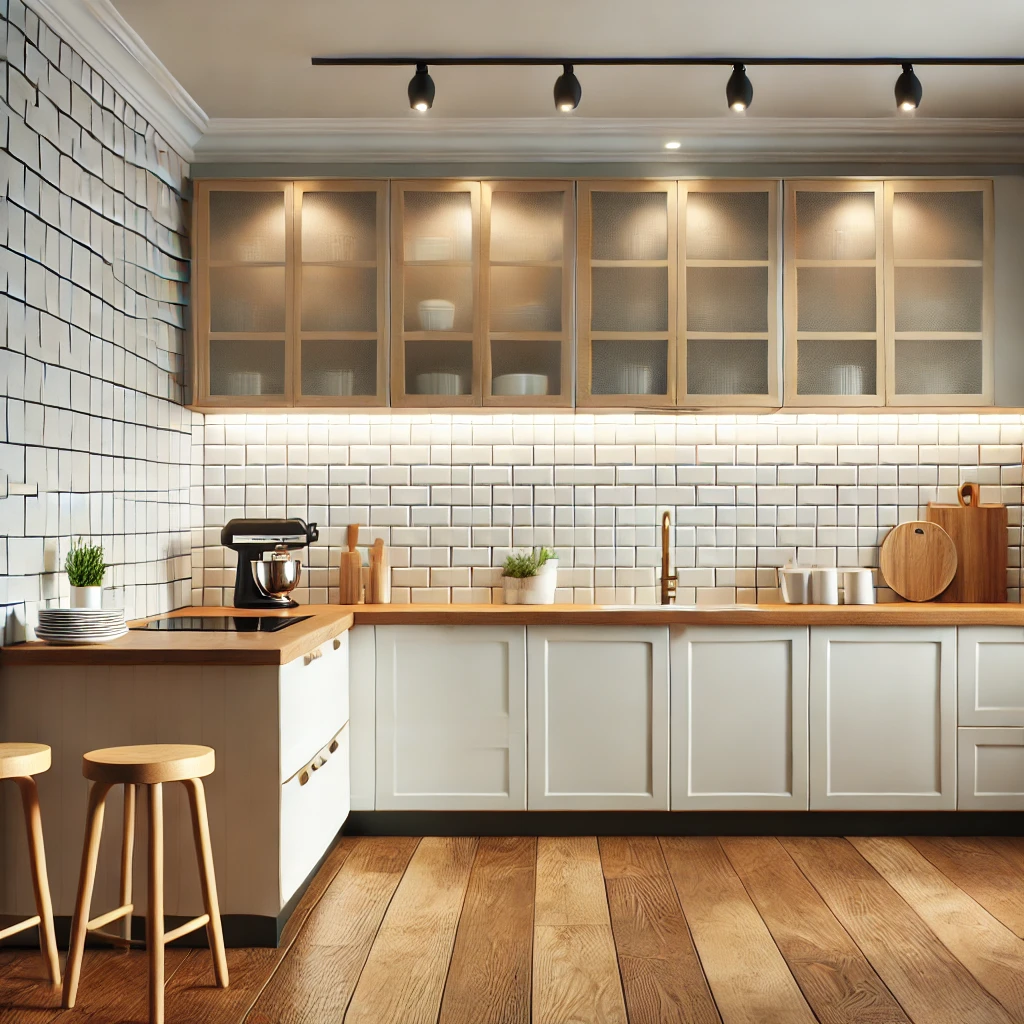
3. Handmade Kitchen Wall Art
DIY Chalkboard Menu Board:
Materials Needed:
- Wooden board or old picture frame
- Chalkboard paint
- Paintbrush or roller
- Chalk or chalk markers
- Mounting hardware (if hanging on a wall)
Steps:
- Prepare the board: If using a wooden board, sand it for a smooth finish.
- Apply chalkboard paint: Use a roller or brush to apply an even coat of paint.
- Let it dry completely: Allow at least 24 hours for the paint to cure.
- Hang the board: Use mounting hardware or lean it against a wall.
- Write on it: Use chalk to list weekly menus, grocery lists, or motivational quotes.
Tip: Frame your favorite handwritten family recipes for a sentimental touch.
4. Upcycled Kitchen Decor Projects
Give your kitchen a unique and eco-friendly makeover with upcycled kitchen decor projects that transform discarded materials into functional and stylish pieces. Turn old mason jars into charming pendant lights, or create a rustic kitchen island from a reclaimed pallet. Upcycle vintage windows into decorative wall art, or transform metal cans into quirky planters for fresh herbs. Even old utensils and kitchen gadgets can be repurposed as decorative accents, such as a wind chime made from metal colanders or a mobile crafted from wooden spoons. With a little creativity and imagination, you can create a one-of-a-kind kitchen that reflects your personal style and commitment to sustainability.
Ideas:
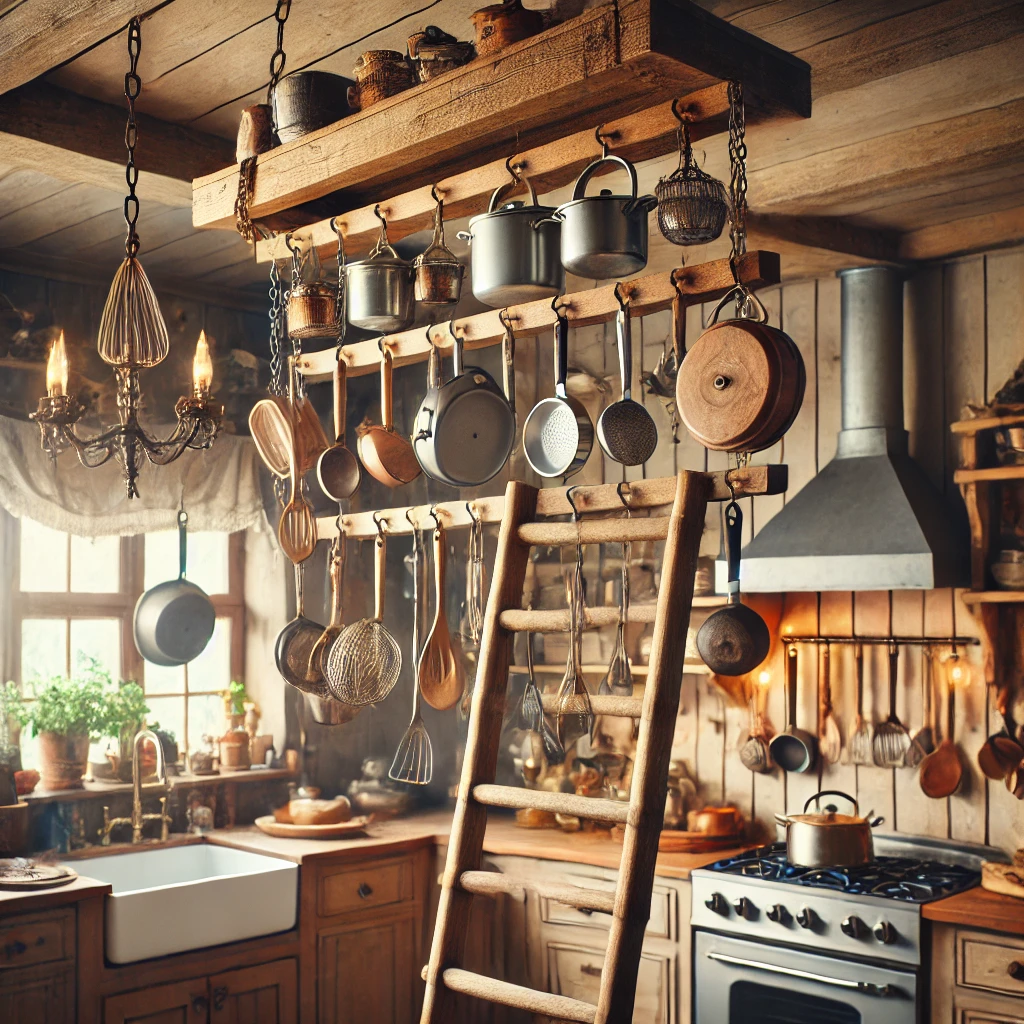
- Old ladder pot rack: Hang a wooden ladder from the ceiling and use hooks to store pots and pans, creating a rustic, farmhouse aesthetic.
- Mason jar utensil holders: Paint and label mason jars to store cutlery, cooking spoons, or even fresh herbs. Use a wooden base to keep them organized.
- Vintage tin can planters: Clean and decorate tin cans with rope, paint, or wrapping paper to create stylish herb planters.
How to Make a Hanging Pot Rack from an Old Ladder:
Materials Needed:
- Old wooden ladder
- Chain or strong rope
- Ceiling hooks
- S-hooks for hanging pots
- Drill and screws
Steps:
- Clean and sand the ladder: Remove any rough edges.
- Install ceiling hooks: Secure them into a ceiling beam for stability.
- Attach chains to the ladder: Ensure it’s level before fully securing.
- Add S-hooks: Use them to hang pots, pans, and utensils.
- Decorate around it: Add greenery or LED string lights for an extra touch.
Tip: Choose a cohesive color scheme to keep the upcycled decor looking stylish and intentional.
5. Small Kitchen Organization Ideas
Even the smallest of kitchens can be transformed into a highly functional and efficient space with the right organization ideas. Start by optimizing your cabinets with dividers, baskets, and adjustable shelves to keep your cookware, dishes, and utensils neatly stored and easily accessible. Utilize the often-wasted space between your wall and countertop with a spice rack, knife block, or magnetic board to keep frequently used items within reach. Additionally, consider installing a pegboard on a wall or the back of a door to hang pots, pans, and utensils, freeing up cabinet space and adding a touch of rustic charm to your kitchen. With a little creativity and planning, even the smallest kitchen can become a culinary haven.
Smart Storage Hacks:
- Magnetic spice rack: Attach a magnetic strip to the wall to store spice jars neatly and save counter space.
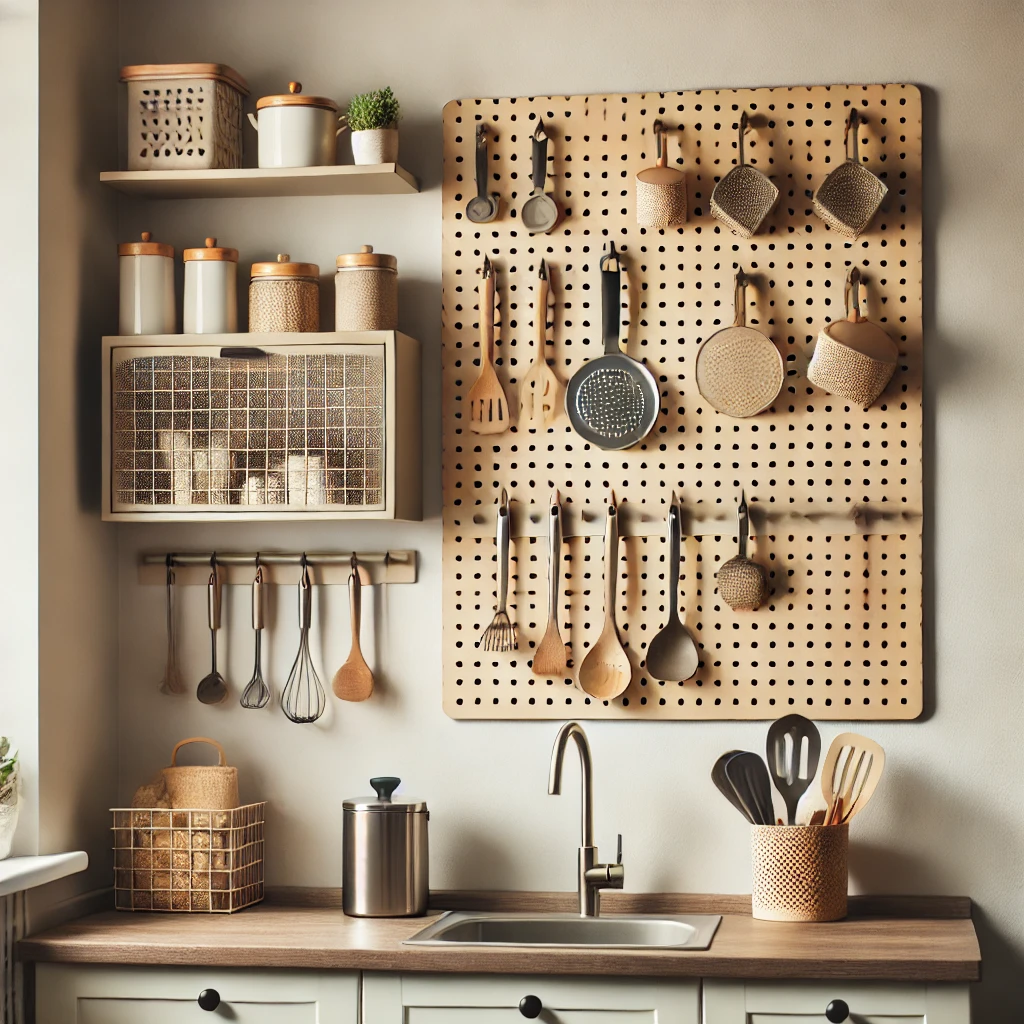
- Pegboard wall: Install a pegboard and use hooks to hang utensils, pots, and measuring cups efficiently.
- Pull-out pantry: Build a slim rolling shelf that fits in small gaps between cabinets for extra storage.
How to Make a DIY Pegboard Organizer:
Materials Needed:
- Pegboard sheet
- Screws and wall anchors
- Wooden frame (optional)
- Hooks and baskets
- Paint (optional)
Steps:
- Measure and cut the pegboard: Fit it to your desired wall space.
- Mount the board: Secure it to the wall using screws and anchors.
- Customize with paint (optional): Paint the board for a decorative touch.
- Attach hooks and baskets: Use these to organize utensils, measuring spoons, and even small pots.
- Arrange kitchen tools: Organize items by frequency of use for efficiency.
Tip: Keep frequently used items within easy reach to improve kitchen workflow
Conclusion
With these DIY kitchen decor ideas, you can refresh your space with style and function while staying on a budget. Whether it’s adding rustic shelves, an easy backsplash, or upcycled decor, each project brings personality to your kitchen. Which idea are you excited to try? Let us know in the comments!