DIY 3D paper wall decor is an affordable and creative way to add depth and personality to any space. This handmade decor trend has gained massive popularity on Pinterest due to its simplicity and stunning aesthetic appeal. Whether you want to enhance a bedroom, living room, or workspace, 3D paper wall art provides endless design possibilities.
Unlike traditional wall decorations that often require expensive materials and tools, DIY 3D paper wall art allows for full customization at minimal cost. With a few basic supplies and a touch of creativity, you can craft unique pieces that reflect your personal style. This guide will walk you through the step-by-step process to create beautiful, dimensional paper wall decor with ease.
Materials Needed
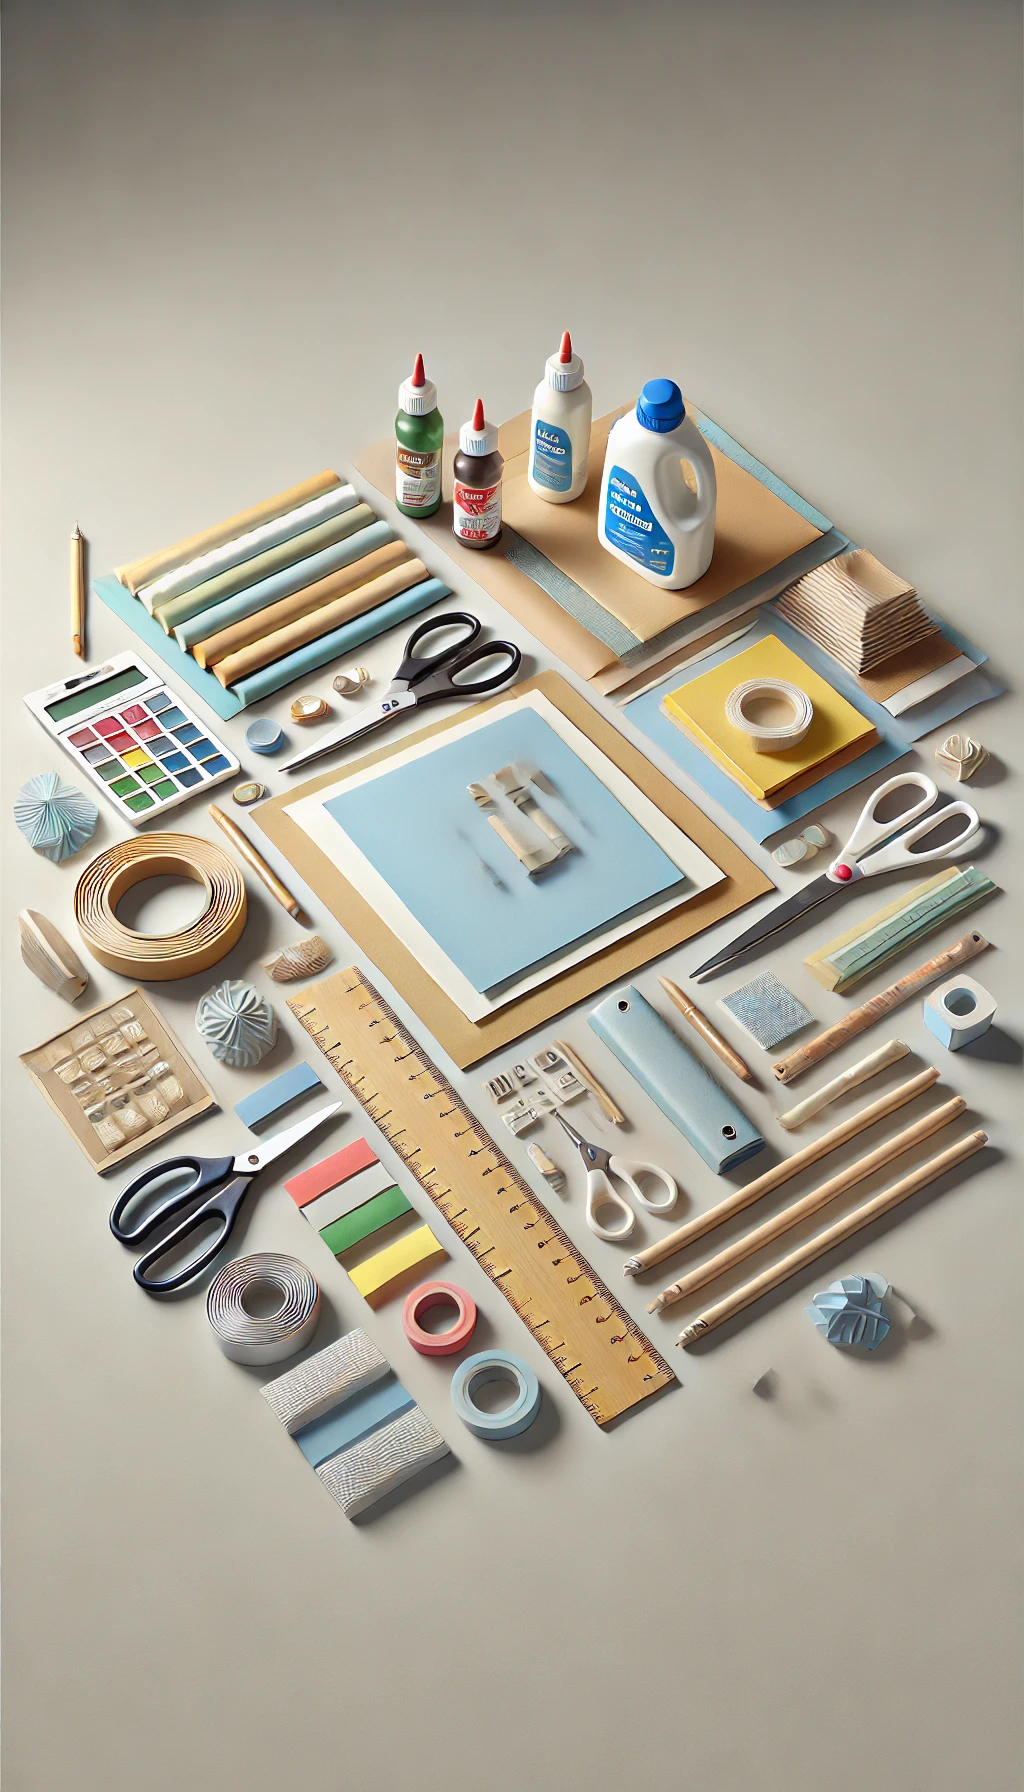
Before getting started, gather the following materials:
- Colored paper or cardstock (120-160 gsm recommended for durability)
- Scissors or craft knife (for precision cutting)
- Glue or double-sided tape (for secure attachment)
- Pencil and ruler (to measure and mark designs)
- Templates (optional, for intricate designs)
- Mounting adhesive (such as removable wall-safe tape or command strips)
- Embossing tool or curling stick (to create texture and depth)
Choosing the right type of paper is essential for a polished final look. Cardstock provides a sturdy, long-lasting structure, while thinner paper is ideal for delicate and layered designs. Metallic, textured, or patterned paper can add a more premium feel to your project.
Step-by-Step DIY 3D Paper Wall Decor
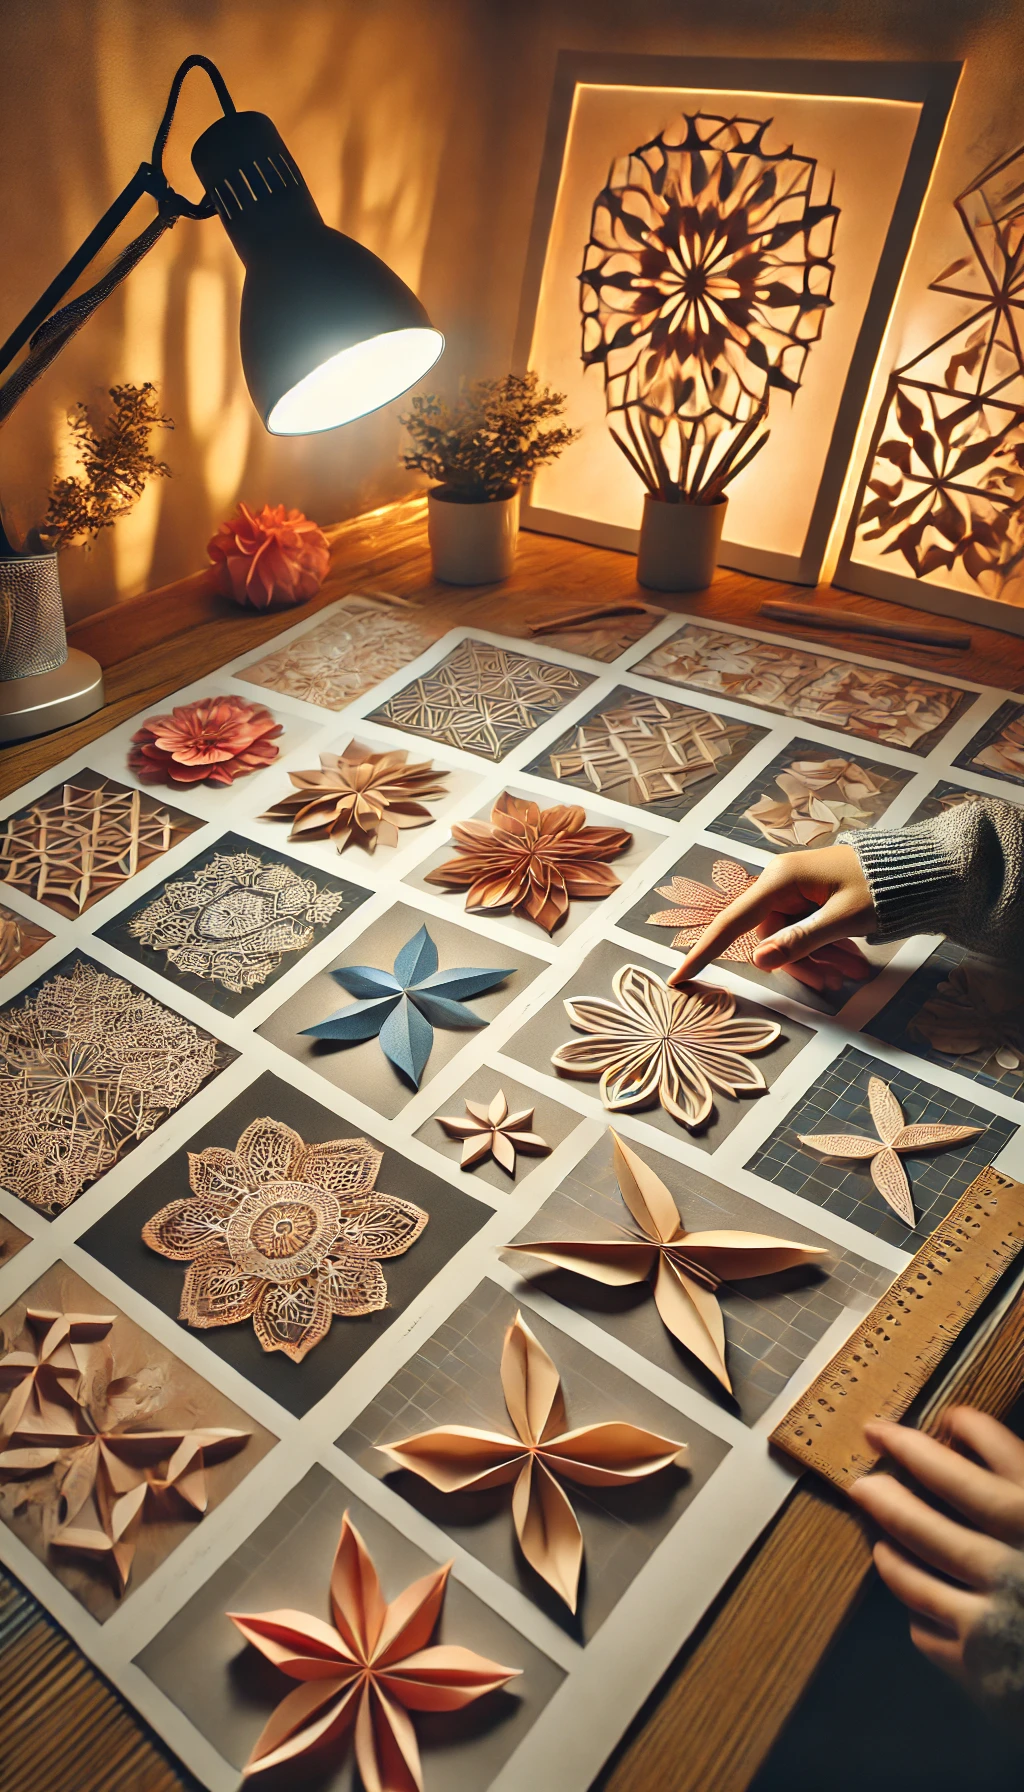
Step 1: Choose a Design and Prepare the Template
Begin by selecting a design that matches your decor style. Popular options include:
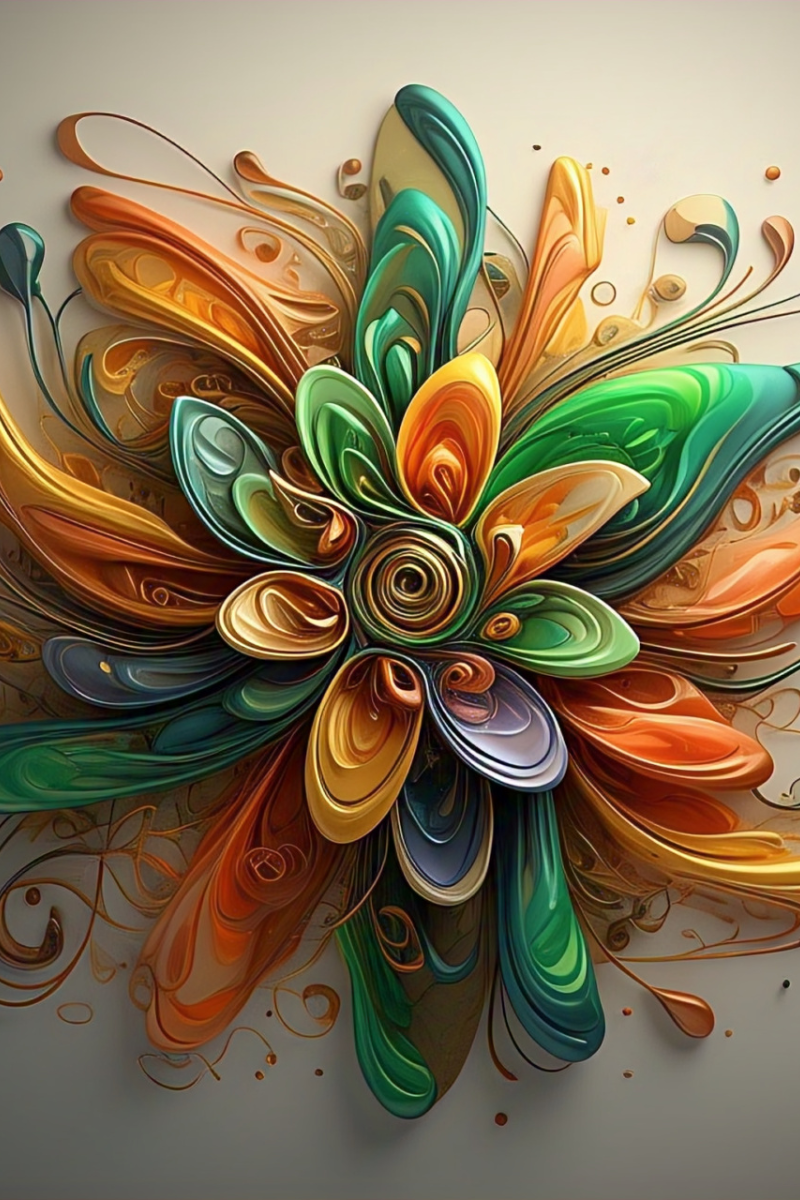
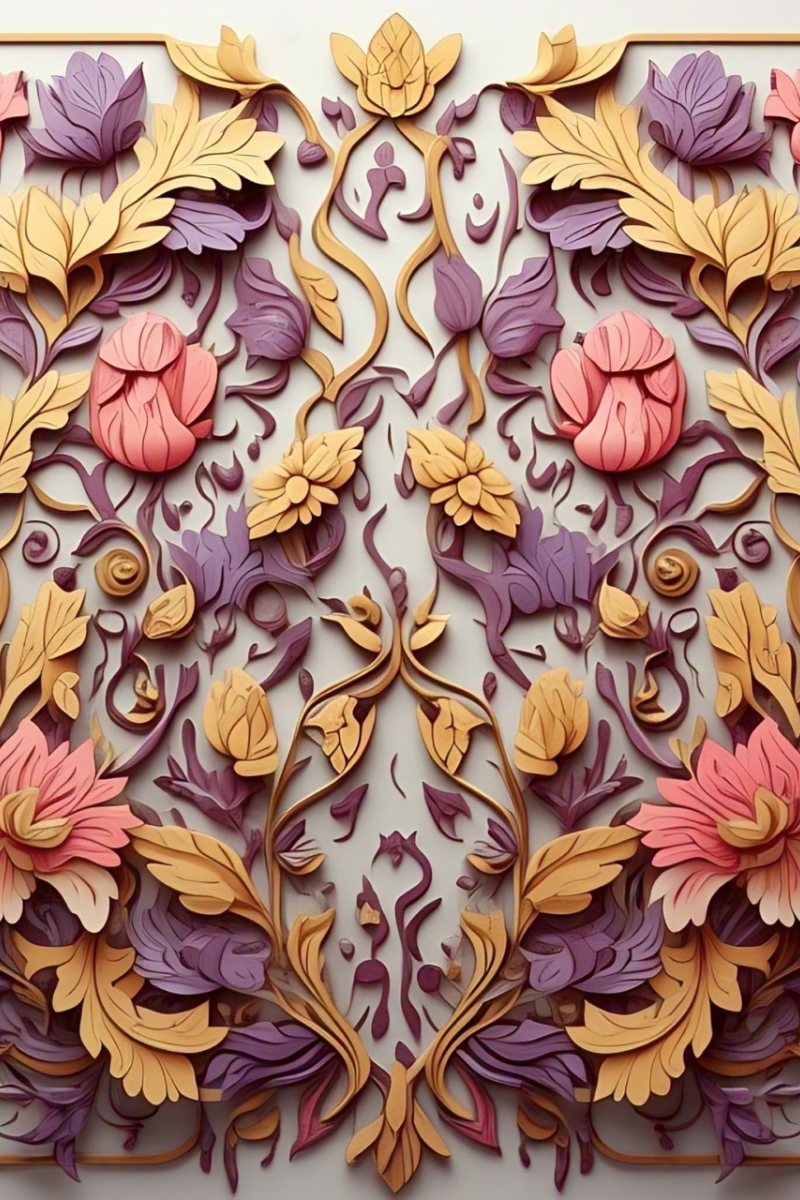
- Floral patterns – perfect for a soft, nature-inspired aesthetic.
- Geometric shapes – ideal for a modern and minimalist look.
- Origami-inspired elements – adds an artistic, structured touch.
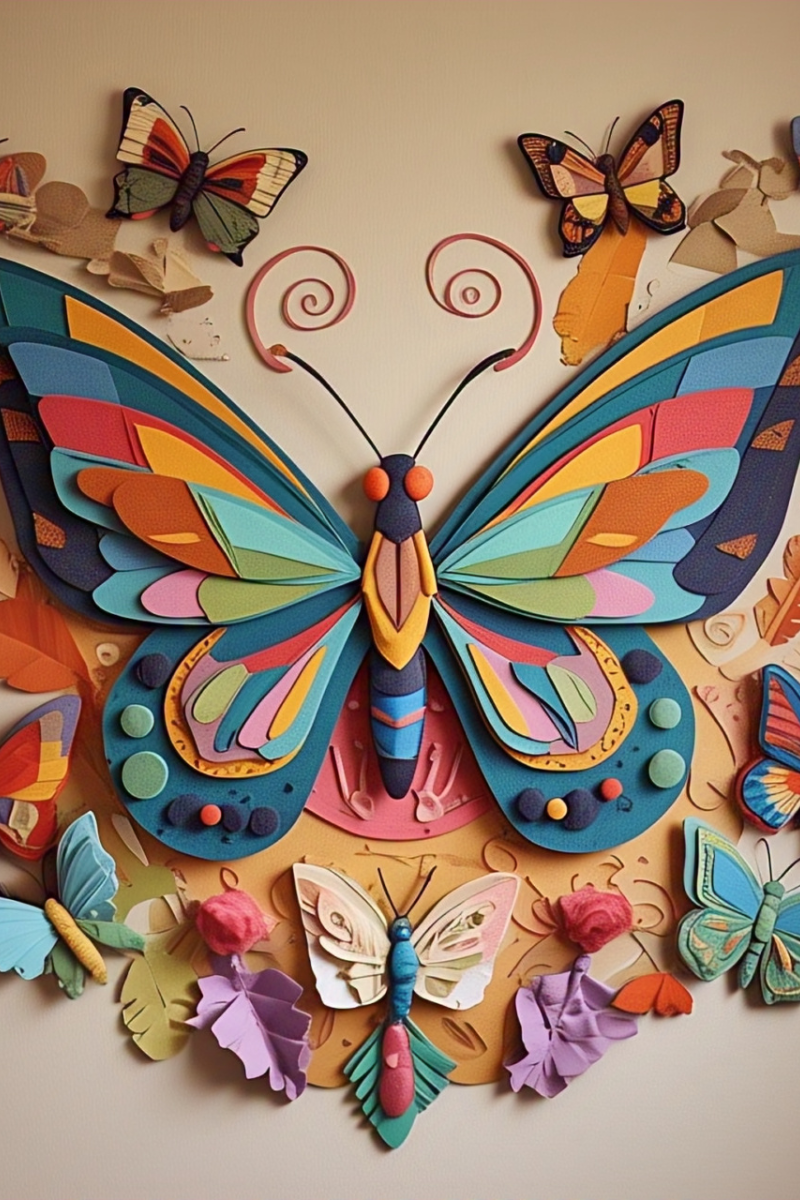
- Butterfly or bird motifs – great for whimsical and dreamy spaces.
If you are a beginner, download printable templates for easier cutting and folding. Many free templates are available online to help you get started with basic shapes before moving on to more complex designs.
Step 2: Cut and Fold for a 3D Effect
Once you have chosen your design, follow these steps:
- Trace the pattern onto the colored paper using a pencil.
- Cut out the shapes carefully using scissors or a craft knife, ensuring smooth edges.
- Create depth by folding, curling, or layering different pieces. Some techniques include:
- Folding along pre-marked lines to achieve a layered effect.
- Using an embossing tool or curling stick to curve the edges of petals, wings, or leaves.
- Layering multiple paper elements to add a three-dimensional look.
Step 3: Arrange and Assemble the Pieces
Before attaching your paper decor to the wall, experiment with different layouts on a flat surface. Consider these design principles:
- Symmetry vs. Asymmetry: A symmetrical arrangement creates a structured look, while an asymmetrical layout adds a dynamic touch.
- Layering: Overlapping elements create depth and make the design more visually striking.
- Spacing: Ensure proper spacing to prevent overcrowding and maintain balance.
Step 4: Attach to the Wall Safely
To secure your 3D paper decor to the wall without damage, use one of these methods:
- Double-sided tape: Ideal for lightweight paper elements and temporary setups.
- Removable mounting putty: Allows repositioning and prevents wall damage.
- Foam adhesive squares: Adds a raised effect, enhancing the three-dimensional look.
When applying, press firmly but gently to avoid creasing the paper. If using heavier cardstock, reinforce with extra adhesive for added security.
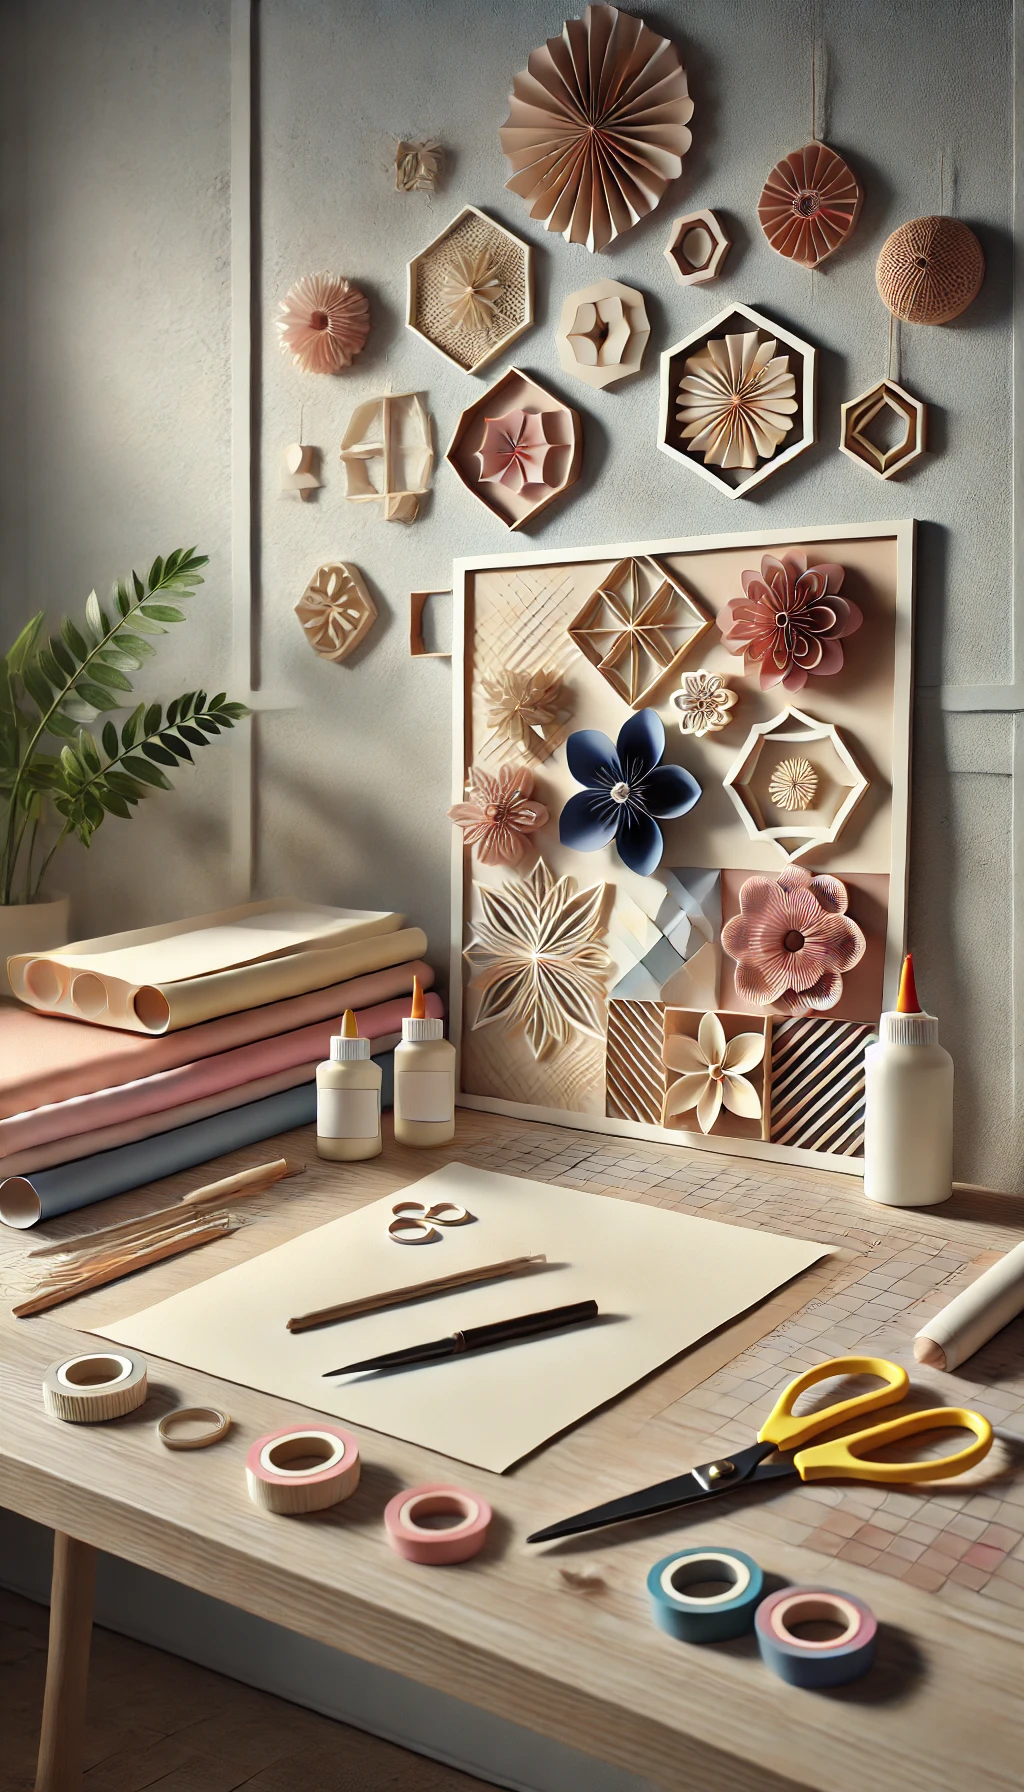
Creative DIY 3D Paper Wall Decor Ideas
If you’re looking for inspiration, here are some unique 3D paper wall decor ideas:
- 3D Paper Flowers: Arrange large paper blooms to create an accent wall for bedrooms or event backdrops.
- Butterfly Wall Art: Scatter paper butterflies across the wall to achieve a floating, whimsical effect.
- Geometric 3D Shapes: Combine triangles, hexagons, or diamonds in bold colors for a contemporary look.
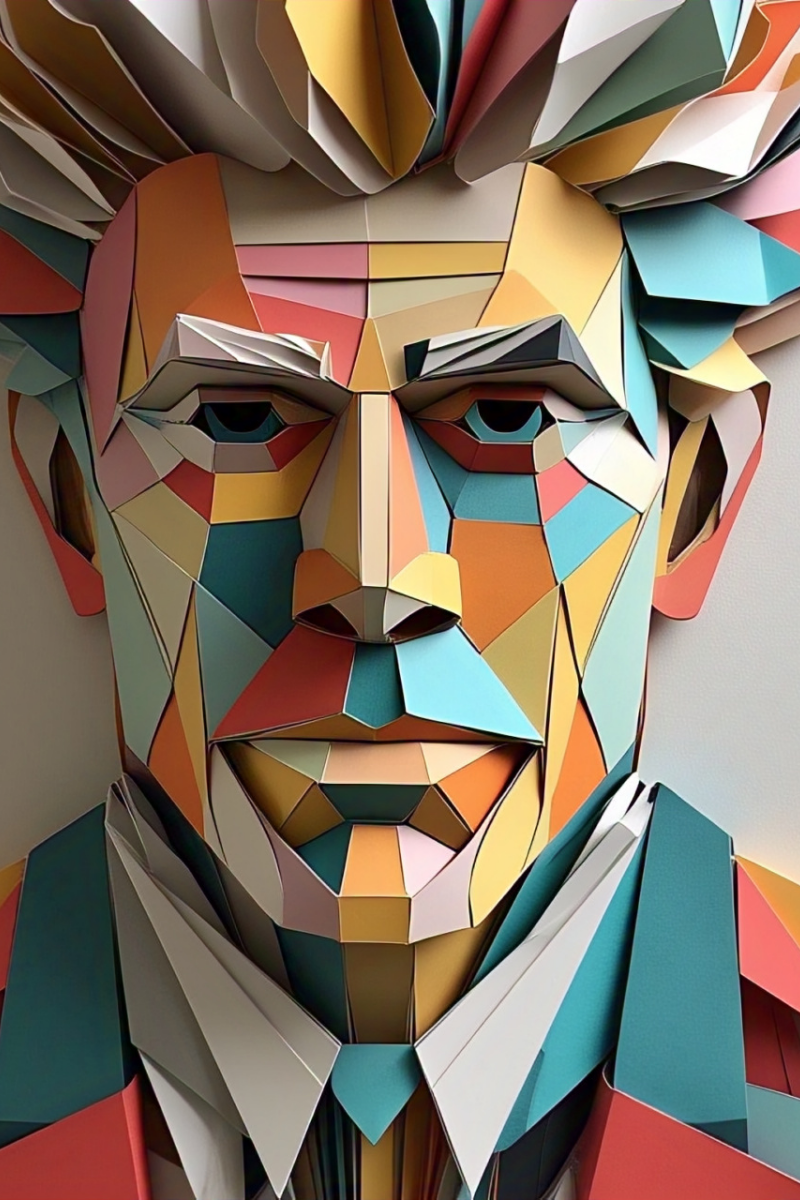
- Layered Origami Art: Mix multiple origami structures to form intricate patterns with depth and texture.
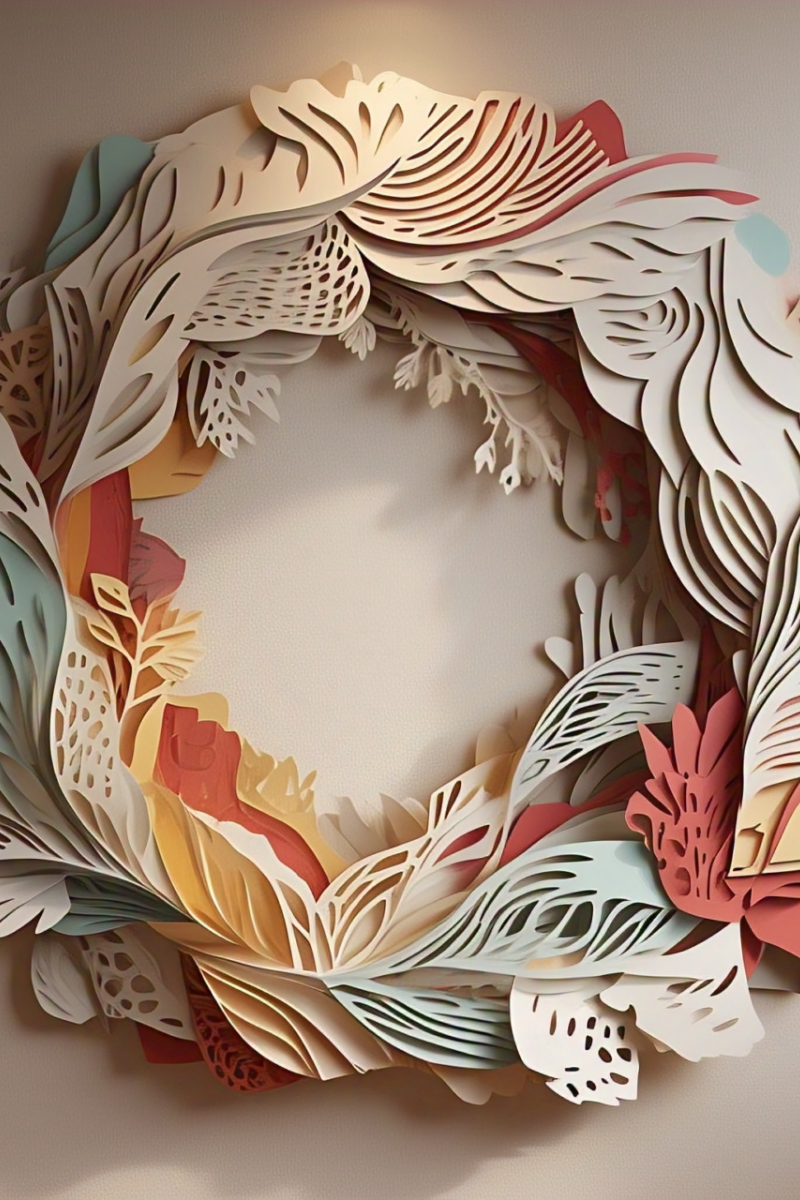
- Nature-Inspired Designs: Create paper leaves, vines, or feathers to bring an organic touch to your walls.
- Themed Decor: Experiment with seasonal motifs such as snowflakes for winter or sunbursts for summer.

Tips for Long-Lasting and Aesthetic DIY Paper Wall Decor
To ensure your DIY 3D paper wall decor remains vibrant and intact, follow these maintenance tips:
- Use high-quality paper to prevent fading and curling over time.
- Choose complementary colors to enhance the 3D illusion and make details stand out.
- Incorporate lighting to cast shadows that add depth to the design.
- Avoid placing in humid areas like bathrooms, as moisture can weaken the paper structure.
- Dust gently with a dry brush or air duster to maintain its pristine appearance.
For added durability, consider applying a light spray of clear sealant to protect the paper from humidity and dust buildup.
Conclusion
DIY 3D paper wall decor is an effortless and cost-effective way to personalize your space. Whether you’re creating a floral masterpiece, a geometric feature wall, or artistic origami accents, this project allows for endless creativity.
Beyond being a fun and rewarding craft, it’s also a great way to engage in a relaxing, hands-on activity. Try different designs, mix color palettes, and experiment with layouts to achieve the perfect aesthetic. Don’t forget to share your creations on Pinterest or Instagram for more inspiration. Happy crafting!